Crafts

Friendship Bracelet Frenzy

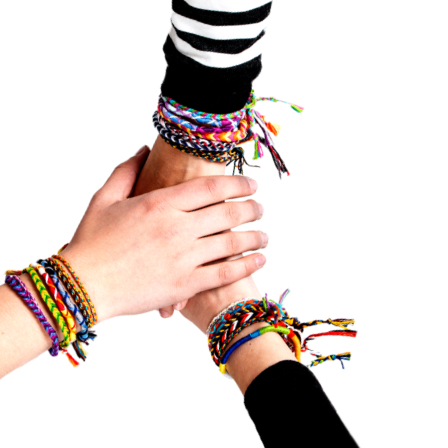
Bracelets make a great back-to-school gift for your friends, neighbors, or siblings. They can also be a way to get to know new people. We’ve created some fun, downloadable cards to help you package these bracelets as gifts for friends both new and old. Go to gemsgc.org to get your downloads, plus get instructions for two more bracelets!

What You Need

  • Cardboard
  • Pencil
  • Something small and round (like a jar lid or coffee cup)
  • Ruler
  • Embroidery thread in a few colors
  • Scissors
  • Tape

Directions

  1. Using the round object, trace a circle with your pencil on the cardboard.
  2. Use the ruler to mark 4 lines on the circle, dividing it into 8 sections (like pie pieces). Draw a small circle in the very center of your cardboard circle where all the lines intersect.
  3. Use the scissors to cut out your circle.
  4. Use the scissors to cut into each of the 8 lines a small way (about ½ inch or 1.25 cm).
  5. Use the tip of your scissors to carefully poke a hole in the center of your cardboard where you marked the small circle.
  6. Cut 7 strands of embroidery thread about 24 inches (61 cm) long.
  7. Tie the 7 strands together with a knot at one end, leaving a short tail.
  8. Use the pencil to poke the knot through the hole in the center, and tape the tail onto the back of your circle.
  9. Take each of your 7 strands and tuck one into each of the slits you cut on the lines, leaving one slit open.
  10. Hold your circle with the open slit facing you.
  11. Count 3 strands clockwise from your open slit and bring that 3rd string down into the open slot.
  12. Turn the cardboard so the open slit is in front of you again. Count 3 strings clockwise and move that 3rd string down into the open slot.
  13. Keep repeating steps 10-12! Be careful so your long strands don’t get tangled.
  14. Once you have the bracelet started, you can remove the tape and keep gently tugging the bracelet down.
  15. Once the bracelet is long enough, take the strands out of the slits, and remove the bracelet from the cardboard.
  16. Tie a knot in the end, and cut the remaining threads. Leave enough tail so you can tie the bracelet together.
  17. Give your bracelet to a new friend!

Want to make more bracelets?
Download instructions for Wrapped in Love and Braided Together
Download our free gift tags to print out and use to give your bracelet to a friend, new or old!